Easy SSH tunneling with Putty
A simple SSH connection and Putty makes this possible:
1. Requirements
- Putty SSH client (download)
- SSH access to a server
2. Configure Putty
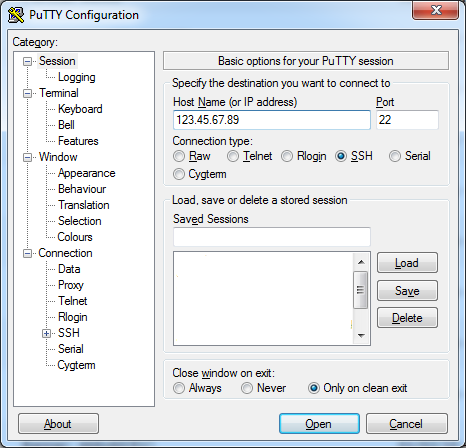
Open the Putty Configuration client, and fill in the field ‘Host Name (or IP address)‘ with the IP or host name of your remote server. In the Connection type section you should select SSH which will set the port automatically to 22.
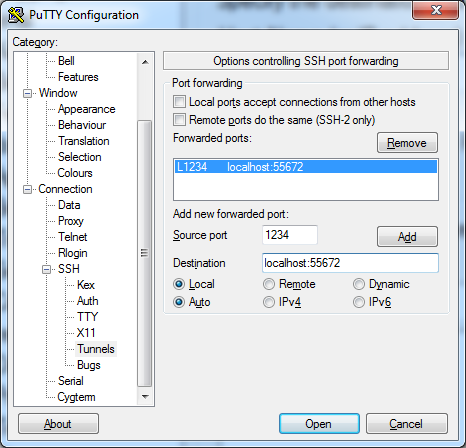
Once this is done, open the Tunnels section in the menu Connection -> SSH. In this section we are going to configure the port forwarding. Assume we want to access the RabbitMQ management web server which runs on the port 55672. We need to tell Putty to listen on a Source port (=local), and to forward it to the Destination (=remote).
For this example we will configure putty to forward port 1234 to the remote port 55672.
Fill in the ports as displayed in following screen and then click on Add:
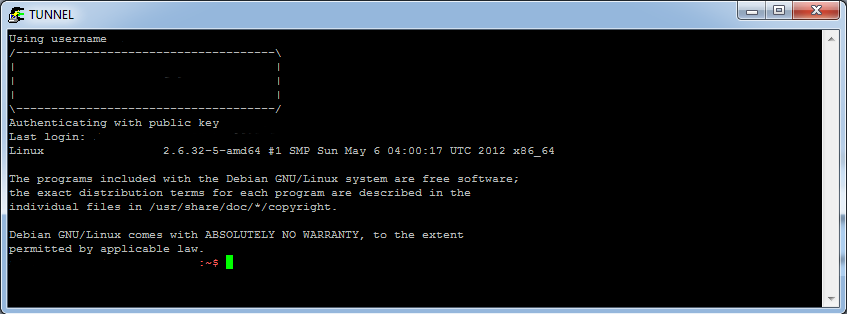
If everything is correctly configured click Open. This will open a SSH connection with your remote server and at the same time the configured port forwarding. The major drawback is that you cannot see the port forwarding from that screen. If you also use putty to manage your remote server, you will not see the difference. Of course you can always configure the putty screen to be a different color (if you know alternative tricks, please share 😉 )
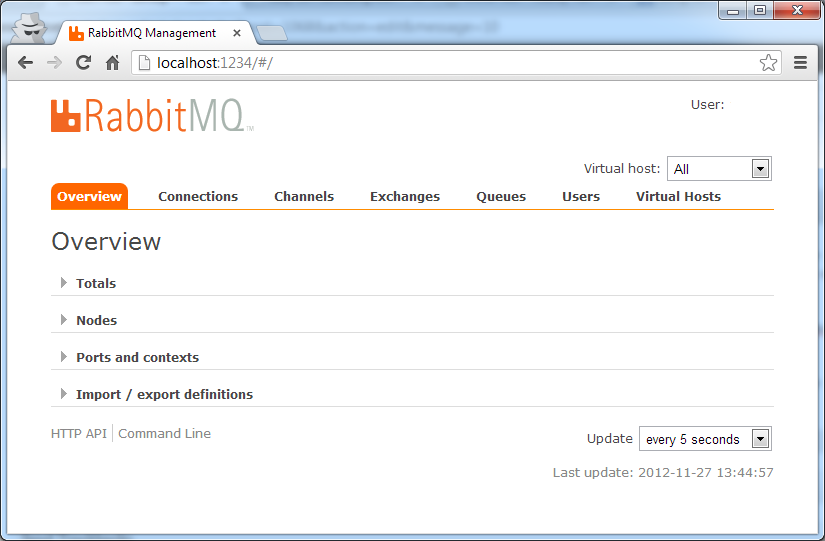
While the putty connection screens remains open you should be able to access the RabbitMQ management web server by calling http://localhost:1234 in your favorite browser.
As you can see the procedure is really simple and opens a lot of possibilities without having to open different ports on your remote server.
Enjoy


Comments